Editor Overview
An overview of Sovran's browser-based timeline video editor.
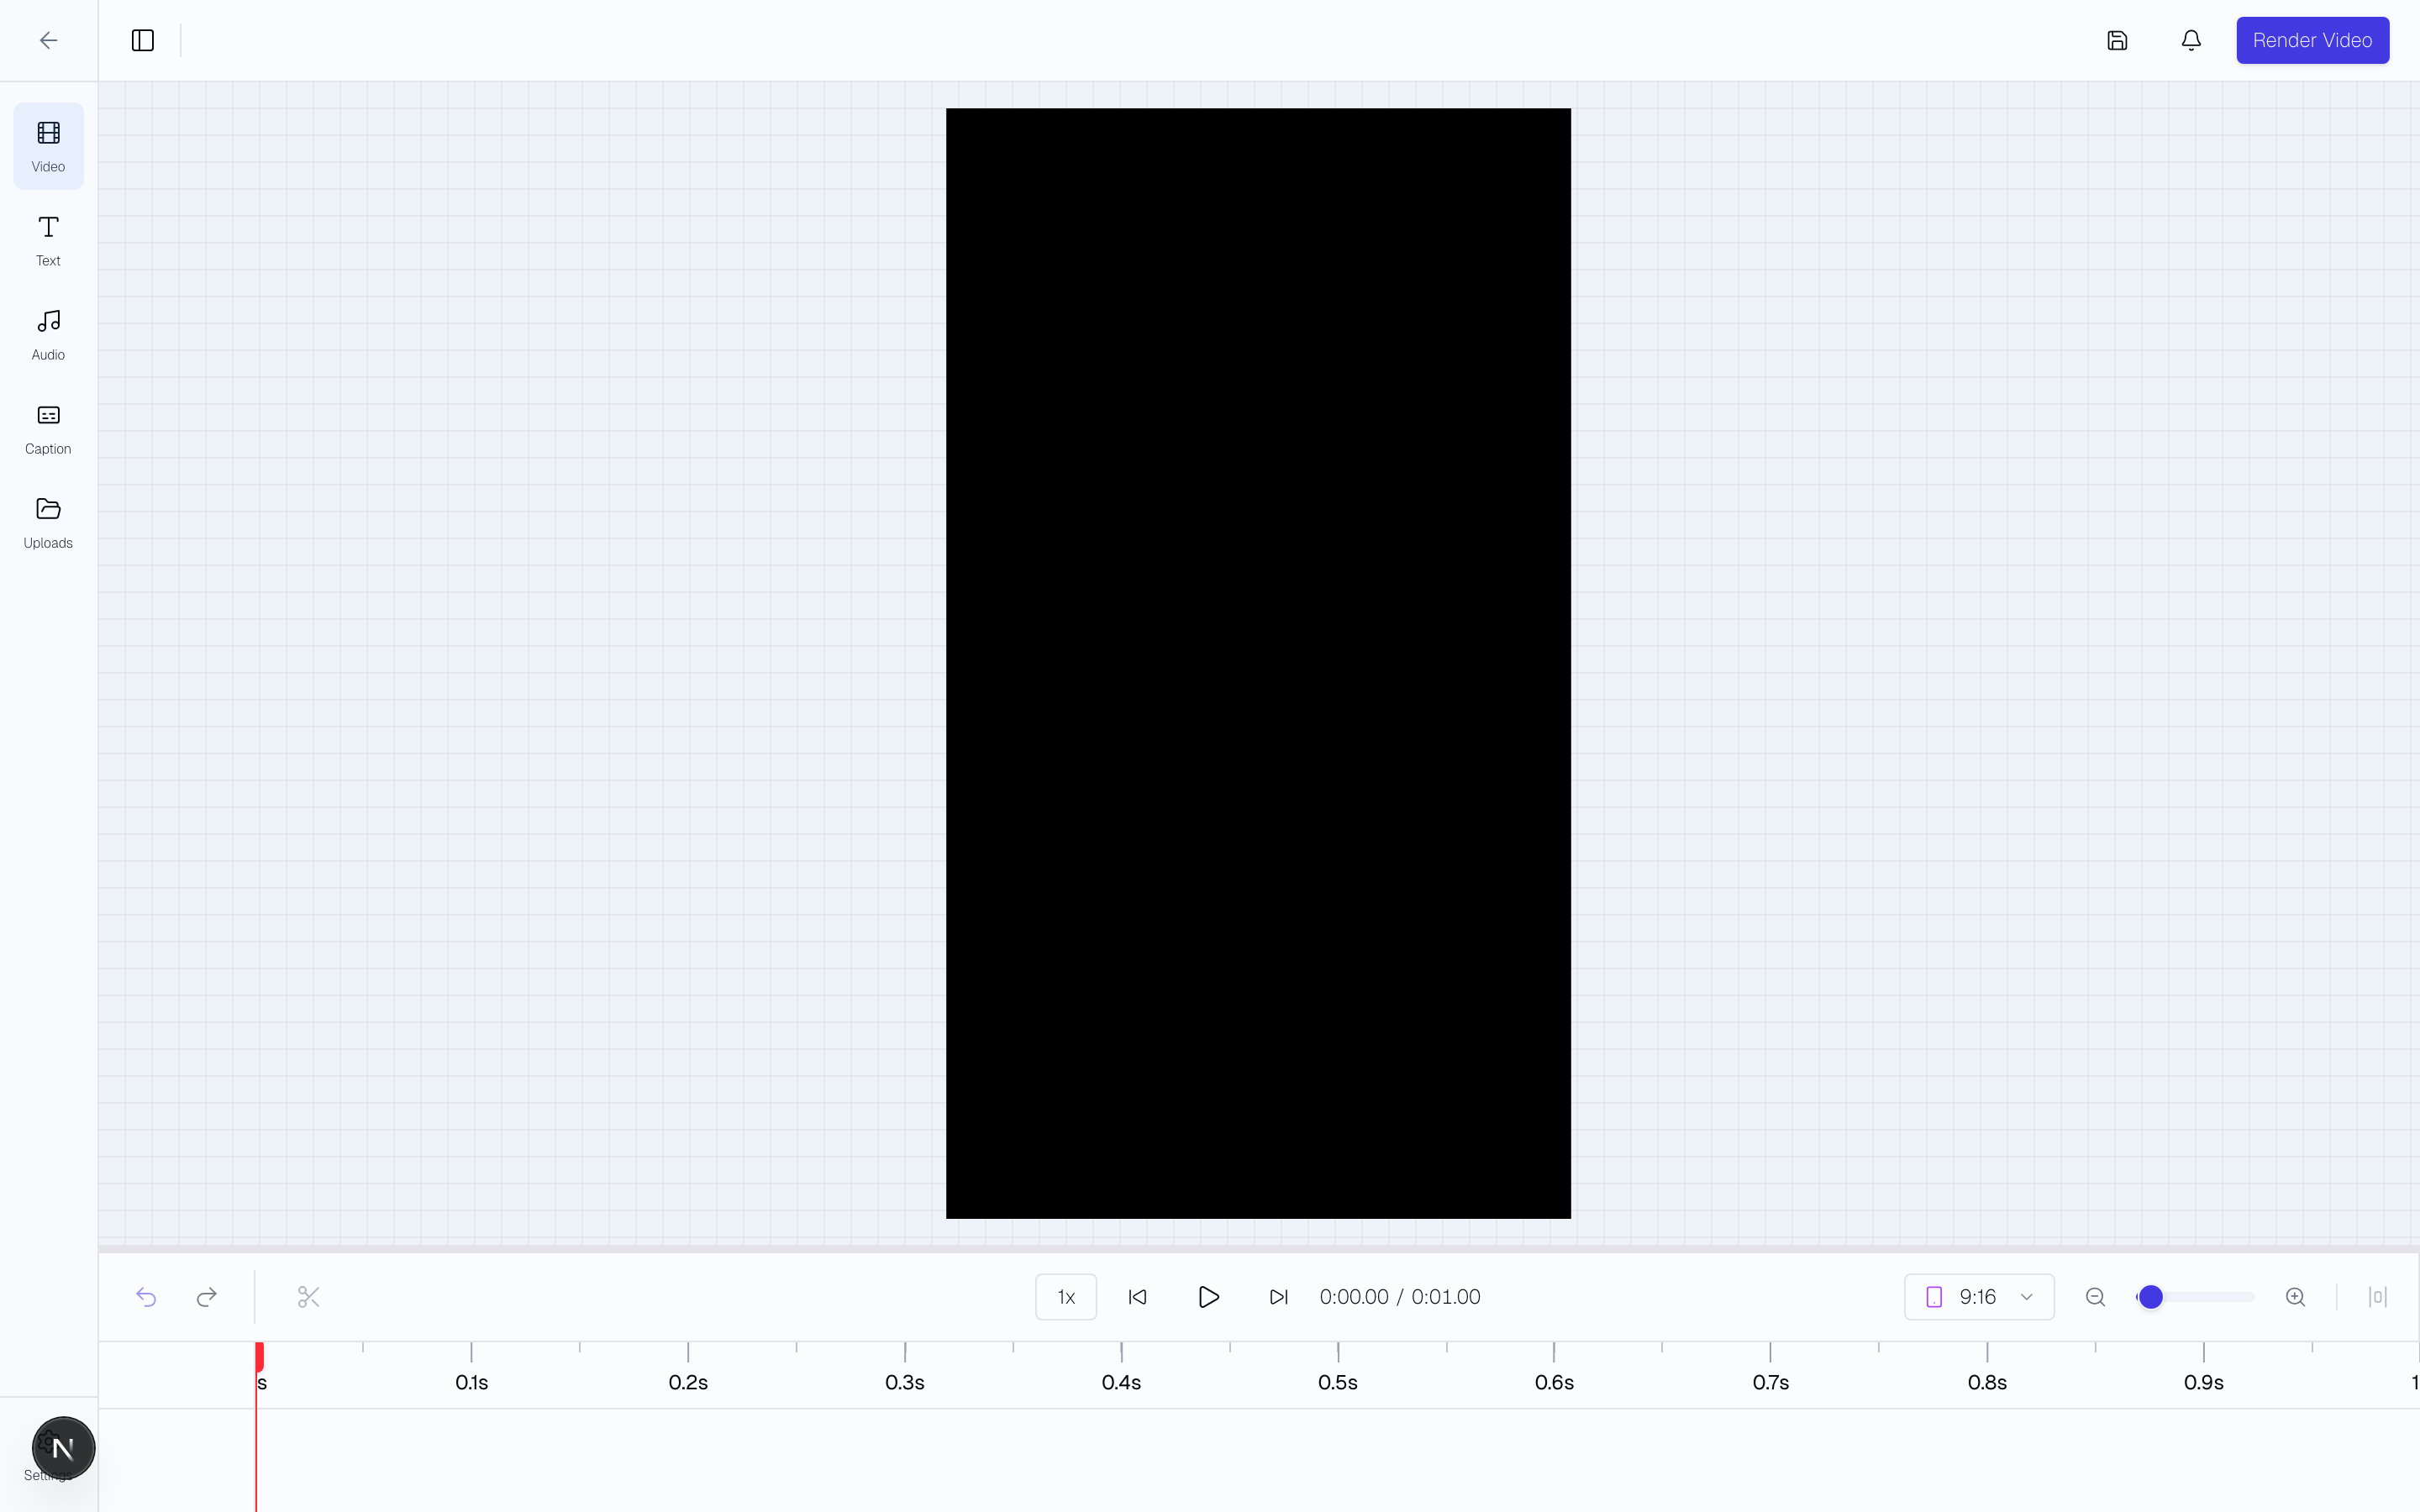
Opening the Editor
There are several ways to open the video editor:
- From any asset — Click "Edit in Video Editor" on any video asset's detail page.
- From Create Clips — Select approved clips in the Clips tab, then click "Build in Editor". Each clip lands on the timeline pre-trimmed to its exact time range.
- From the sidebar — Navigate to the Video Editor section directly.
When you enter the editor from an asset or clips view, clicking back returns you to the page you came from.
Copy a finished video
Open Finished Videos and select a completed video. In its details panel, select Duplicate & edit to create a separate draft from a supported editor or Modular Builder export.
Copying needs available source details, media, and fonts. If Sovran cannot make a copy, the panel shows the cause. Select Retry check after a failed availability check. If the copy was saved but did not open, select Open copy.
For an older editor export without a saved export version, Sovran can copy the latest saved source draft when it is available. That draft can differ from the finished video. Check the copy before you export it. Older Builder exports can be copied only when their saved source details and settings are supported.
Creating a copy does not start a render. The finished video and source draft stay available. A new finished export uses the usual render credit.
Switch between related drafts
When at least two drafts in the project share source footage, the editor header shows a variation selector. Use its previous and next arrows, or open the list to choose a draft. Alt + [ and Alt + ] also switch drafts when you are not typing in a field.
The list shows each draft's date, duration, and render status. Changed since render means the current saved draft has edits after its last finished render. The editor checks for unsaved edits before navigation.
The selector lists up to 200 related drafts. Batch editing and Remix review use their own batch navigation.
Timeline Interface
The editor uses a multi-track timeline similar to professional editing software:
- Video tracks — Drag and drop video clips onto the timeline. Split, trim, and reorder.
- Audio tracks — Add music, voiceovers, or sound effects on separate audio tracks.
- Text tracks — Add text overlays and captions that appear at specific timestamps.
- Image tracks — Add static images or logos as overlays.
Tracks support magnetic snapping so clips align precisely on the timeline.
Replace a Video Clip
Drop one video from the editor library or your computer onto an existing timeline video clip. In Replace clip, drag the selected range or enter Start (seconds) to choose the footage. Preview it with the existing timeline audio, then select Replace clip.
The replacement keeps the clip's timeline position, duration, and speed. Separate audio tracks and captions keep their timing. The new source must have enough footage to fill the clip at its current speed. Computer uploads must be no larger than 1 GB and start when you confirm the replacement. Use Undo to restore the previous clip.
Check the result after replacement. Source-specific audio overrides and background removal are cleared. The replacement video is muted during its preview.
Adjust clip volume and speed
Select a video or audio clip to set its volume from 0% to 400%. Play the result to check the sound.
For video clips, use Playback speed to choose 0.25× to 4× in 0.05× steps. Presets include 0.9×, 1×, 1.1×, and 1.25×. The clip duration changes with its speed.
For audio clips, Fade In and Fade Out use the trimmed clip length. Their combined time cannot exceed that length.
Rotate an Image
Select an image and open its position settings. Enter Rotation (°), use the −90° or +90° buttons, or select Reset to return to zero degrees.
Search for Background Music
- Open Audio, then select Music Search.
- Describe a mood, style, or instrument, then select Search.
- Select Play to preview a track. Use the preview slider to move to another part, including while paused. Select Load more for more results.
- Select Add to save the track in the project's My Audio library and add it to the timeline.
Tracks already in your library show Saved to My Audio. You can still select Add to place another copy on the timeline. To upload your own audio, open My Audio and select Upload. Included Music contains the editor's built-in music collection.
Use Search audio to find a saved file by name. Use Load more audio to reach older files. Select Add to insert audio at the playhead. To replace audio, select the clip, open Change sound, then select Replace. The Add and Replace buttons support the keyboard.
Use the timeline audio controls to trim the track and adjust its volume. Saved tracks remain available when you reopen the project. If a search preview expires, repeat the search to get a new preview link.
Undo & Redo
Every timeline action supports undo and redo. Use Ctrl/⌘ + Z to undo and Ctrl/⌘ + Shift + Z to redo. This covers all operations including trimming, reordering, adding or removing layers, and property changes.
Preview
The preview panel shows your video in real-time as you edit. Use the playback controls to scrub through the timeline, play/pause, and jump to specific points.
Aspect Ratio Presets
Switch between aspect ratios with one click:
- 9:16 — Stories and Reels
- 1:1 — Square feed
- 4:5 — Portrait feed (Meta recommended)
- 16:9 — Landscape
Your timeline layout adapts to the selected ratio, making it easy to preview how your ad will look on each placement.
Check a 4:5 Crop
Use 4:5 crop check to see the area kept by a centered 4:5 crop. Keep faces, products, and captions inside this area. This guide changes the preview only. It does not change the export format.
Saving and Exporting
Your edits are saved automatically as you work. When you're ready to export, click "Export" to render the final video. A Finished video export uses one video render credit. Hook, body, CTA, and custom reusable exports do not use a video render credit. Finished video exports appear in Finished Videos. Hook, body, CTA, and custom reusable exports appear in Assets for reuse in sequences and other edits.
To export part of the edit, select Hook, Body, CTA, or Custom. Choose Selected range. Enter Start (seconds) and End (seconds). If clips are selected, these fields start at the first selected clip and end after the last selected clip. The range includes all visible and audible content between those times. It can include gaps between selected clips.
Times snap to the nearest frame. The end frame is excluded. The export uses the original timing for source media, captions, audio fades, and transitions. A cut within a transition or fade starts or ends at that point. The full draft is unchanged. Finished video and review renders always use the full timeline.
Open Recent exports to find the latest 20 exports from this draft. Results remain available when you reopen the draft. Open a completed result to preview it or find it in its destination. If the list fails to load, select Try again. An export that is still in progress updates while the list is open.
Team feedback
Use Video Reviews to request feedback on a fixed version before export. Teammates can comment at specific times, approve the version, or request changes.
Remove a Video Background
Trim and select a video clip. In Settings, check Selected source range, then select Remove Background. Only that continuous range is processed. It can use up to 60 seconds of source video, even when the full recording is longer. Playback speed affects how much source video the clip uses. The source file must be no larger than 256 MB.
In Creative Copilot, short sources can be processed in full. For a long source, select Choose range in editor. Trim the clip there, then remove its background. To process a different range later, add the original source again.
The result keeps the clip timing, style, captions, and selected speech-only audio. The cutout is saved in the Project video library. Add it to another clip, or use it as replacement footage. Its background stays transparent.
If a request fails, try again to resume the saved work. If you select or replace another clip during processing, the old result will not change that clip. Return to the original source and select Remove Background to resume. A saved result does not need another provider run. If the provider request cannot be confirmed, contact support before starting another removal.